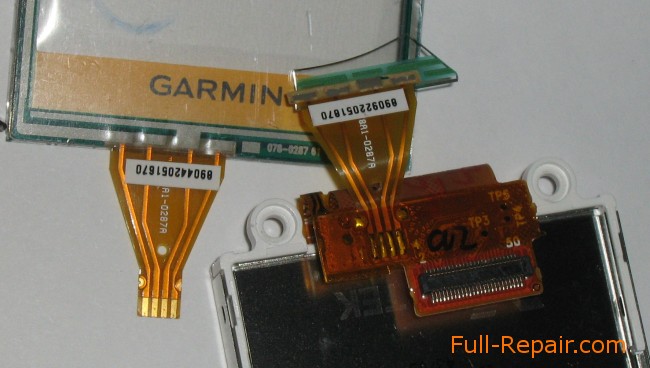
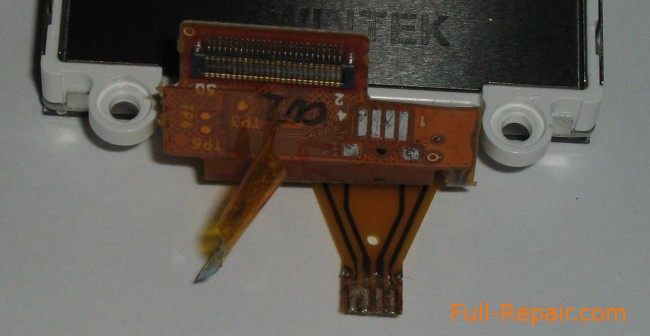
The very touch screen is glued to the double sided tape, and the tire is soldered directly onto the bus LCD screen.
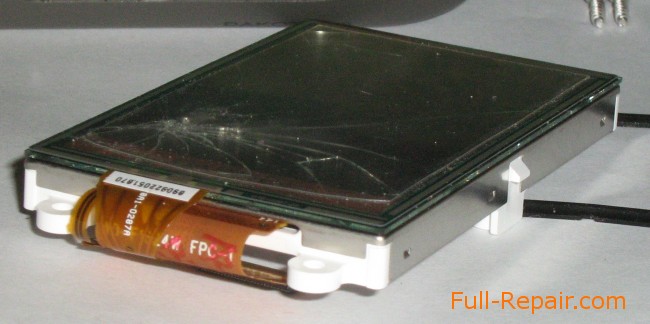
Carefully unsolder the bus and a little office knife poddevaem and detach touchscreen.
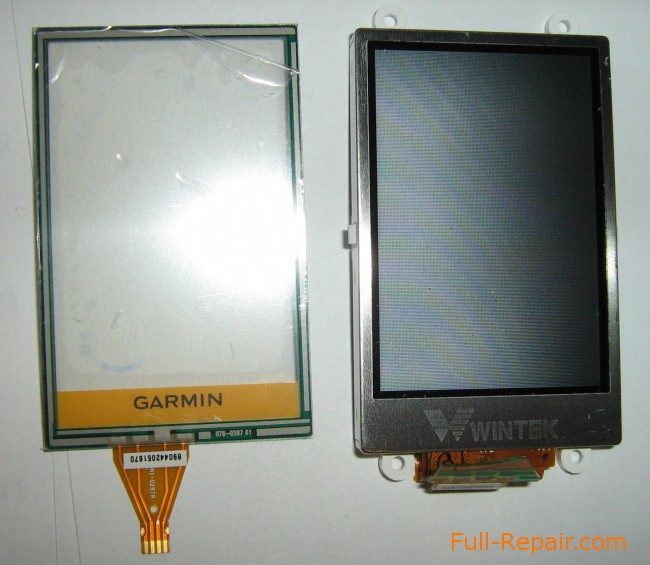
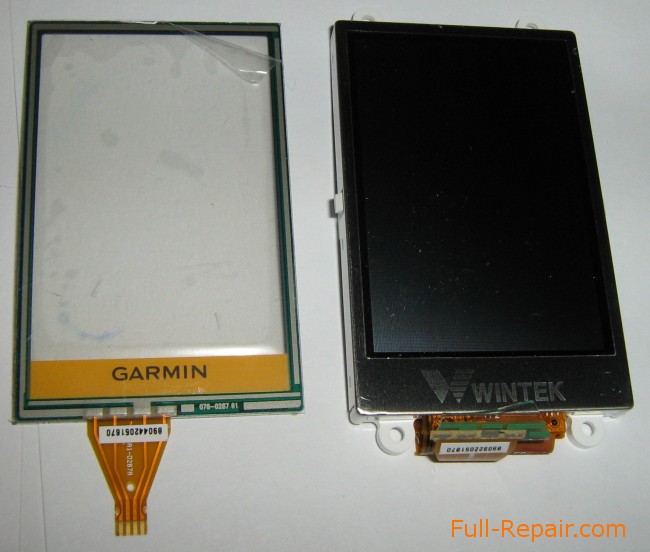
By the LCD screen is better not to touch. If there is dirt on it, then very carefully, with little or no pressure to remove it with something soft.
I began to wipe the screen with a cotton swab and scratched him.
He is very gentle. Scratches barely visible but still they remain.
If parts of the tape left on the metal parts, remove them.
Then wipe the edge of the screen with alcohol to degrease.
Now we take a new screen, remove the masking tape with a protective film, and carefully glue in place. Be careful not to mix up the top and bottom. You can focus on a loop.
Zaluzhaem copper provodnichki on new part and solder to the bus.
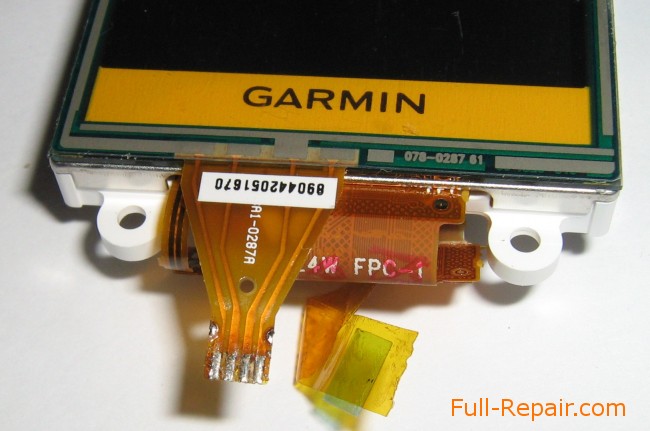
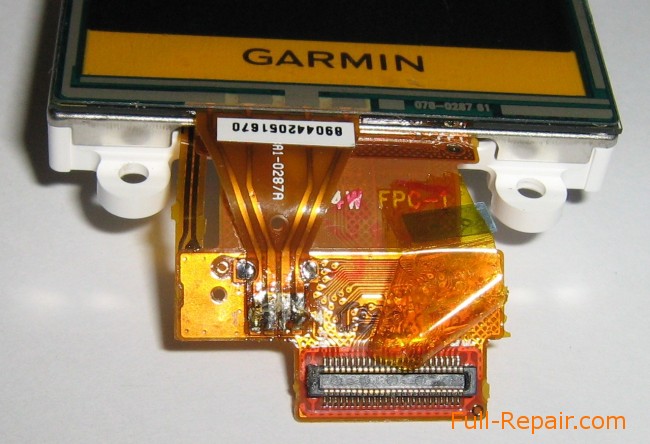
Check the soldering tester for the presence of circuits between adjacent contacts. Solder if necessary (I did not have).
Close up the soldering tape, as it was originally.
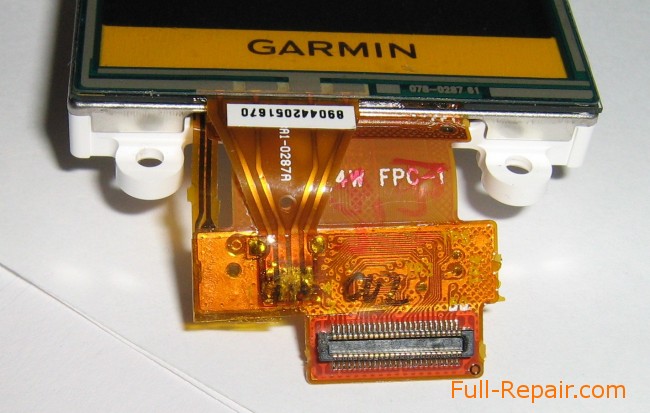
You can not collect the unit, plug in the connector and make a trial run-to check whether the screen.
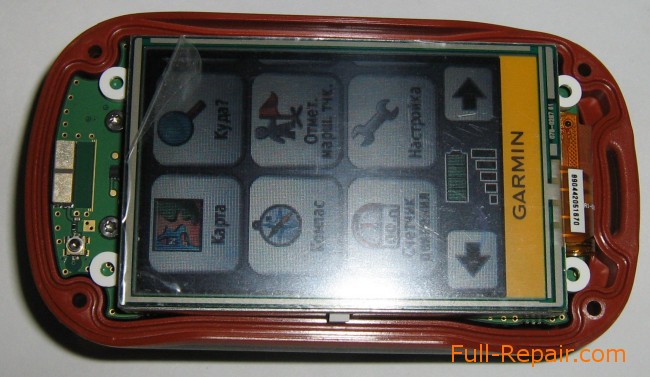
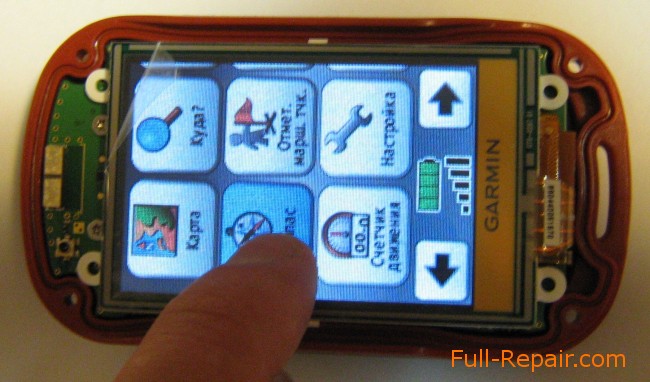
Everything works! Turn off GPS, detach the screen and proceed to the assembly.
Remove from the screen protective film and insert the screen into the case. See the rubber gasket is strictly in place.
Now two of the Navigator, connect, again watching the seals, and twirl.
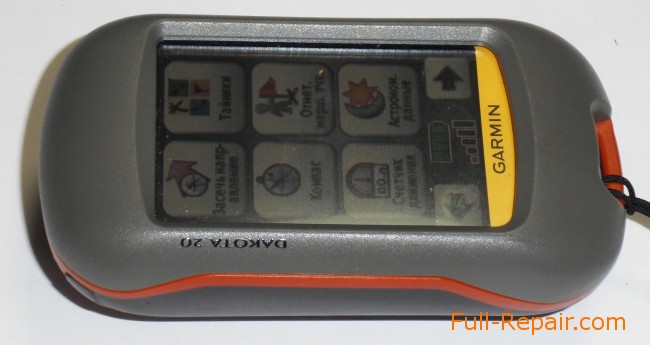
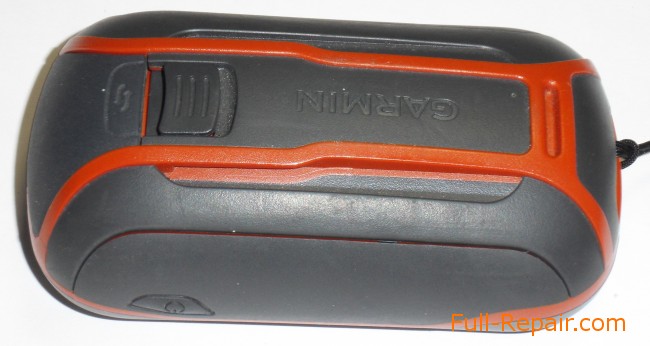
Screen replaced. Navigator is ready for further work.
 Full-Repair.com
Comments:
09.01.2016 at 22:49 Charles said:
Thank you for a great DIY article. Would you by any chance know where I can order a garmin dakota 20 screen at a good price?
Thanks.
09.01.2016 at 22:55 George said:
Thanks!
Sure, try to find it on aliexpress.com by keyword "garmin dakota 20 screen". I already tryed a moment ago.
Touchscreen about $20 and touch+LCD for about $35-40.
05.08.2016 at 04:15 Zoe said:
We also find an interesting site www.bamboost-tech.com,featuring kinds of LCD for garmin gps devices,including garmin dakota 20.
May it help.